Leaky faucets can be a nuisance, with their constant drip-drip reminding us of the water—and money—being wasted. Have no fear, Gilbert Plumbing Company is here to provide you with straightforward DIY Faucet Repair tips. This guide is perfect for homeowners seeking to tackle minor plumbing issues on their own, saving both time and resources.
Understanding the Basics of Faucet Repair
Before diving into repairs, it’s essential to understand the basic components of your faucet. Most common types include ball, cartridge, ceramic disk, and compression. Knowing what type you have will guide you in selecting the right tools and parts.
Each faucet type has different mechanisms and potential issues. While some repairs might involve replacing a small washer, others could require installing a new valve or cartridge. Familiarizing yourself with your faucet’s anatomy is the first step to effective DIY repair.
Gathering Your Tools and Supplies
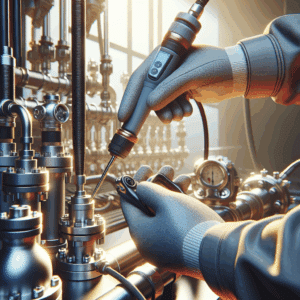
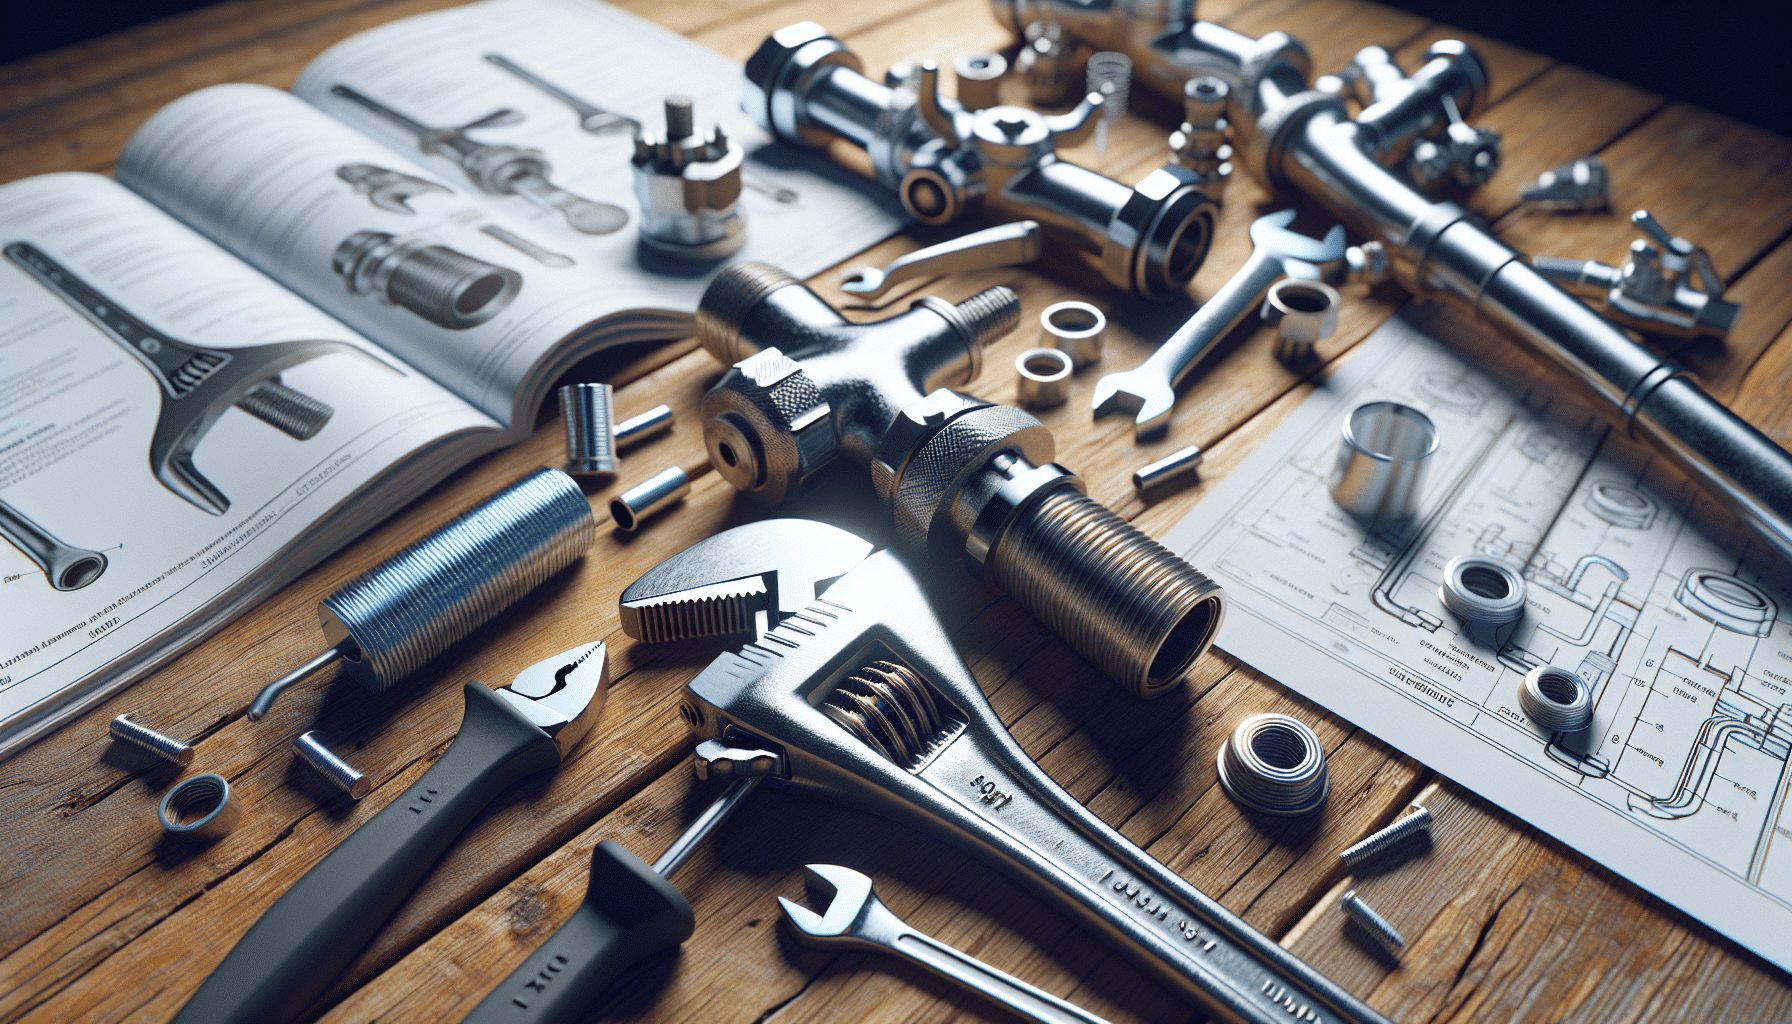
Successfully repairing a faucet begins with having the right tools on hand. Essentials include an adjustable wrench, screwdriver, penetrating oil, and replacement parts like O-rings or washers, depending on your issue. It’s always a good idea to have a flashlight handy to ensure you can see into hard-to-reach areas.
Having these tools at your disposal not only streamlines the repair process but also reduces frustration. Acquiring a basic plumbing toolkit can serve you well in many household repairs beyond faucets.
Identifying the Source of the Problem
A leaky faucet could stem from several issues, so pinpointing the exact source is crucial. Begin by observing where the water is dripping; is it from the spout, at the base, or beneath the sink? Each scenario suggests different problem areas.
Checking these focal points can significantly narrow down the cause. Sometimes, simply tightening a part may resolve the issue; other times, a replacement might be necessary.
Simple Fixes for Minor Leaks
Once you identify the problem, applying a straightforward solution can often suffice. If you’ve noted a constant drip, replacing a worn-out washer might just do the trick. Ensure you shut off the water supply before attempting any repairs.
Disassemble the faucet carefully, take note of how components fit together, and replace the faulty part. Reassemble the faucet and test it to ensure the leak is fixed. This approach doesn’t require advanced skills, just a bit of patience and attention to detail.
Tackling Compression Faucets
Compression faucets are commonly found in older homes and can be prone to leaks. These consist of two handles and work via compression disks to block water flow. If you own this type, you may need to replace the seat washers.
After turning off the water supply, remove the handle and unscrew the packing nut to access the stem. You should promptly see the washer, which you can replace. Ensure you replace it with the same size to avoid further leaks.
Dealing with Cartridge Faucets
Cartridge faucets are popular due to their straightforward repair needs. If water drips from a single-handle faucet, the cartridge may require replacing. First, remove the handle to access the cartridge underneath.
Once exposed, remove the retaining clip with pliers. Swap out the old cartridge for a new one, ensuring it fits precisely. Reinstall the handle and turn on the water supply to test for leaks.
Smoothing Out Ball Faucets
Ball faucets are known for their versatility but can develop leaks over time. With this type, issues often arise with the ball or the inlet seals. A repair kit containing these parts can be extremely helpful.
After turning off the water, remove the handle and the cap. Replace the ball and seals according to the kit instructions. Carefully reassemble the faucet before testing it for functionality.
Repairing Ceramic Disk Faucets
Ceramic disk faucets are durable but require attention if leaks occur. Unlike other types, these use a single lever, and the issue typically lies with the neoprene seals or the ceramic cylinder itself.
Disassemble the faucet and examine the seals and cylinder. If worn, replace these parts and reassemble the unit, ensuring everything is tightly sealed. Always turn the faucet gently to extend the lifespan of the ceramic parts.
Preventing Future Faucet Issues
- Regular Inspections: Make a habit of routinely checking faucets for minor leaks or wearing parts. Early detection can prevent major repairs.
- Proper Maintenance: Cleaning faucet aerators and seals can enhance performance and extend lifespan.
- Avoid Over-Tightening: When reassembling or using faucets, avoid overtightening, which can cause damage to seals and washers.
- Use Quality Parts: Investing in high-quality replacement parts can reduce the frequency of necessary repairs.
- Soften Water: If you have hard water, consider using water softeners to reduce mineral buildup in faucets.
When to Call a Professional
Sometimes, DIY fixes may not resolve persistent issues or a severe leak. In such cases, it’s best to consult professionals. We are always ready at Gilbert Plumbing Company to handle more complex repairs or replacements.
If you’ve made several attempts with no success, or if you notice unusual noises or pressure drops, it might signal a bigger issue within your plumbing system. Our expertise can ensure long-term solutions and prevent future problems.
For any persistent or major faucet issues, feel free to Contact Us at 480-535-0728 or Request a Free Quote. Your satisfaction and peace of mind are our top priorities at Gilbert Plumbing Company.