Are you tired of dealing with hard water stains and inefficient appliances? Look no further, because this guide is designed to help homeowners install a water softener effortlessly. At Gilbert Plumbing Company, we’re here to guide you through every step, making the process manageable and stress-free.
Understanding the Benefits of a Water Softener
The first step to installing a water softener is understanding its advantages. Soft water not only extends the lifespan of your plumbing but also improves the efficiency of your household appliances. Imagine spotless dishes and softer laundry – these are just a few of the perks.
By reducing scale buildup in pipes, a water softener can also prevent costly repairs down the line. Investing time in this installation can lead to significant savings and enhanced home comfort for us all.
Selecting the Right Location
Choosing the proper location for your water softener is crucial. Ideally, it should be installed where water enters your home, ensuring that all of your water systems benefit from softened water. Common locations include a basement or garage, providing easy access for maintenance.
Make sure the area is accessible and has a nearby electrical outlet and drain. Keep in mind that the unit needs to be installed upstream from your water heater to prevent hard water from entering any appliances.
Gathering Necessary Tools and Materials
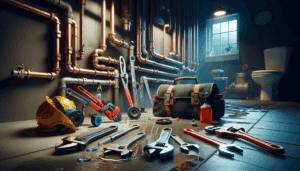
Preparation is key. Before getting started, make sure you have all necessary tools and materials on hand. This typically includes wrenches, a hacksaw, tubing cutters, and PVC cement.
Other essential materials include flexible tubing and shut-off valves. With the right tools prepared, we can dive into the installation confidently, minimizing surprises along the way.
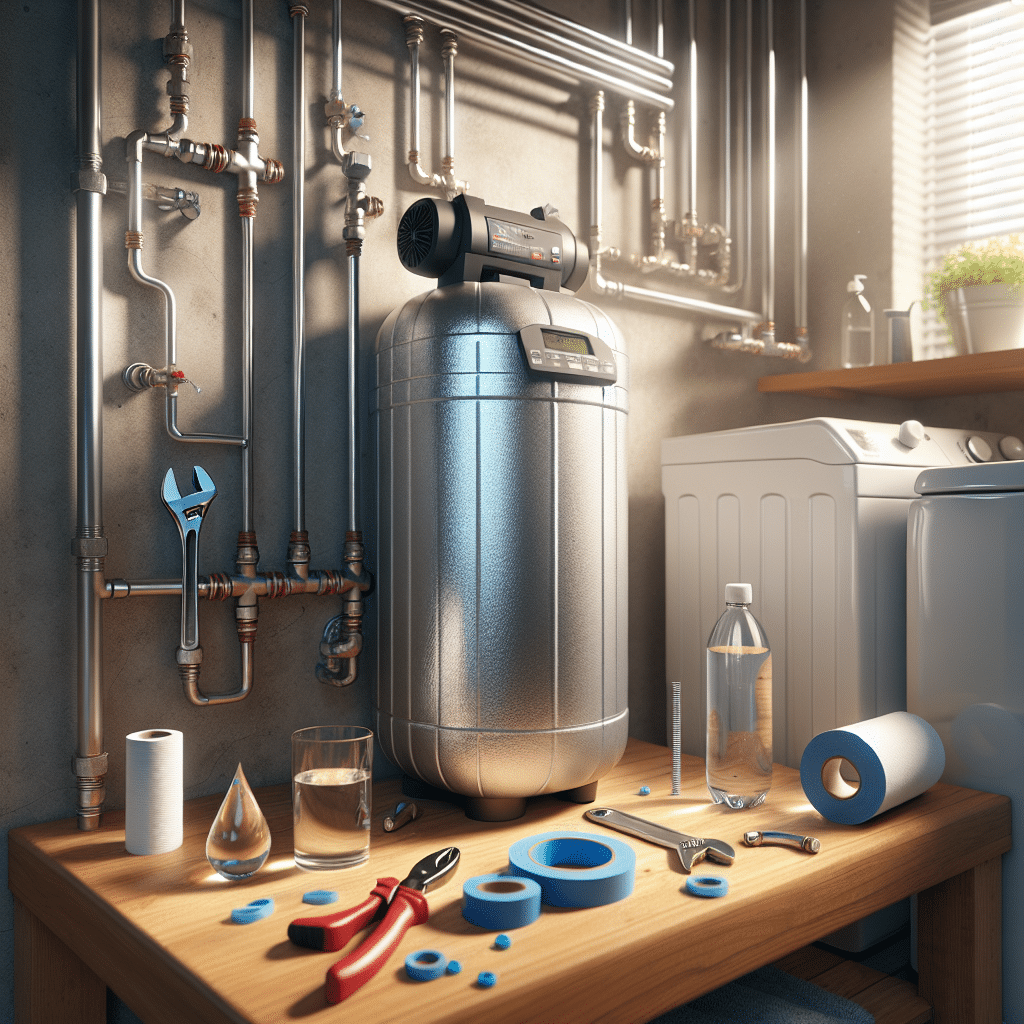
Understanding Water Softener Components
Familiarizing yourself with the components of your water softener is essential. Most systems consist of three main parts: a mineral tank, a brine tank, and a control valve. Each part plays a unique role in the softening process.
The mineral tank is where the magic happens, exchanging hard minerals for sodium ions. Meanwhile, the brine tank regenerates the resin, ensuring continuous soft water throughout your home.
Installing the Bypass Valve
Installing the bypass valve is your first task. This component is crucial because it allows water to bypass the softener if maintenance or repairs are required. Most systems come with a bypass valve, which simplifies this step.
Attach the bypass valve to the softener using the provided instructions, ensuring a secure fit. This step sets the stage for the rest of the installation, so take your time to get it right.
Connecting to the Main Water Line
Now that the bypass valve is in place, it’s time to connect the water softener to the main water line. Start by shutting off your home’s main water supply to avoid any unwanted surprises.
Using flexible tubing, connect the inlet and outlet ports of the bypass valve to the main water line. Ensure all connections are tightly secured to prevent leaks, and you’ll be set for the next stage of installation.
Setting Up the Drain Line
The next step involves setting up the drain line. This is vital for flushing away excess brine and minerals during the regeneration process. Use a high-quality drain hose to connect the water softener to a nearby drain or utility sink.
The drain line must have a downward slope to allow gravity to assist in the drainage process. Secure the hose to prevent any movement, and remember to test it for leaks once installed.
Programming the Control Valve
With physical connections in place, let’s move on to programming the control valve. This is where we set the regeneration cycle based on your household water usage. Many modern units include user-friendly interfaces that simplify this process.
Follow the manufacturer’s instructions to input settings like water hardness and preferred regeneration time. Accurately programming the control valve ensures that your system runs efficiently, providing continuous soft water.
Regular Maintenance Tips
Now that your water softener is up and running, regular maintenance is essential to keep it functioning optimally. Keeping an eye on salt levels in the brine tank is a crucial part of this process. Top it off regularly to ensure effective regeneration.
Avoid overfilling to prevent salt bridges, which can hinder the softening process. Cleaning the brine tank and resin bed periodically will also help maintain the efficiency of your water softening system.
Common Troubleshooting Tips
- Low Water Pressure: Check for blockages in the pipes or the bypass valve and address any issues found.
- Water Not Softening: Ensure there is enough salt in the brine tank and that the settings on the control valve are correct.
- Iron Stains: Consider using a specialized cleaning agent if your water has high iron content.
- Salt Bridges: Break up any solidified salt in the brine tank using a broom handle or similar tool.
- Error Codes: Refer to the user manual for any specific error codes and follow the recommended solutions.
Conclusion
Congratulations! You’ve successfully installed your water softener, and can now enjoy the myriad benefits of soft water in your home. If you encounter any issues or wish for professional assistance, don’t hesitate to Contact Us at 480-535-0728 or Request a Free Quote from Gilbert Plumbing Company.